How to Sharpen a Serrated Knife

When to Sharpen Your Serrated Knives
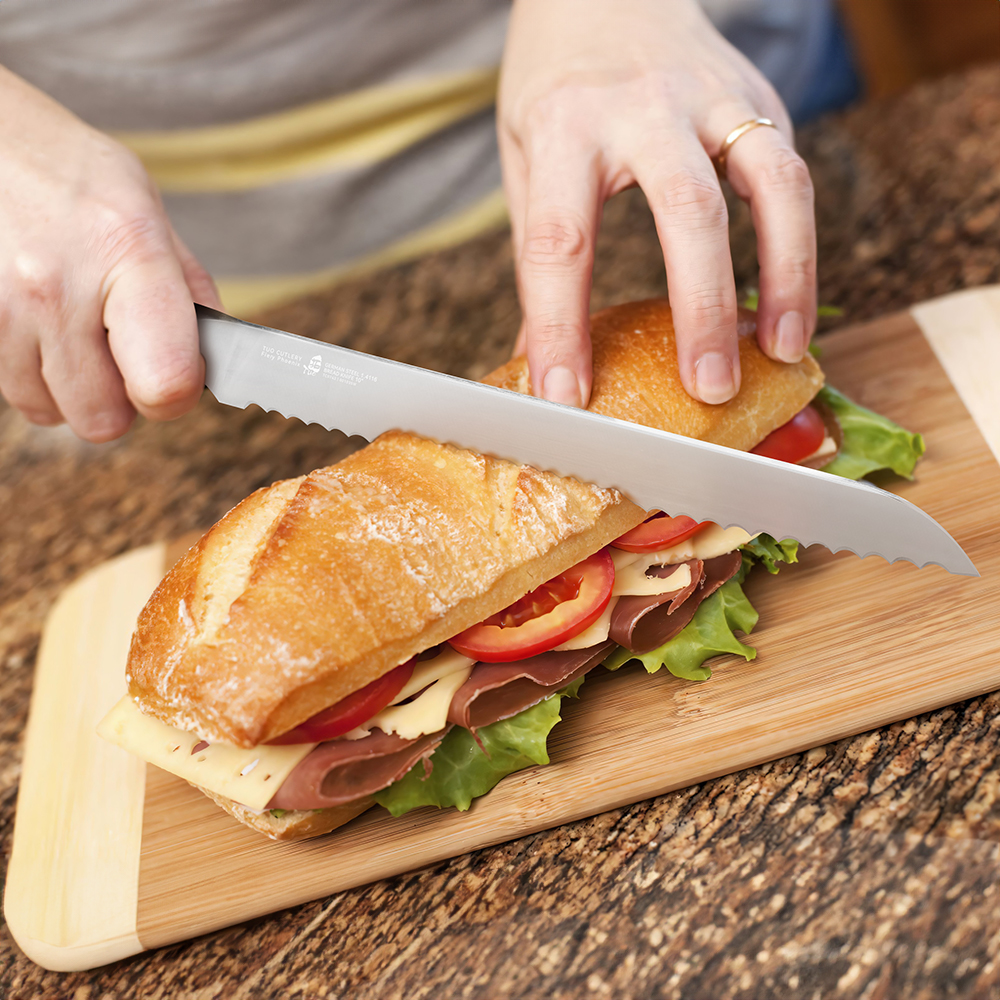
Serrated knife sharpening frequency hinges directly on usage patterns. While daily baguette cutting necessitates biannual maintenance, weekly bagel slicing may extend intervals beyond a year—significantly longer than straight-edged counterparts (e.g., chef's knives requiring monthly sharpening). Key dullness indicators include excessive bread crumbs, jagged crust edges, and increased cutting pressure. As Food & Wine's blade expert John Somerall affirms: "Blunted serrations or cutting resistance warrant immediate edge inspection."
Definitive verification requires the tomato test: Difficulty piercing the skin, flesh deformation (squishing/ragged edges), or uneven slices confirm sharpening necessity. This objective assessment eliminates user subjectivity, providing clear visual confirmation of blade degradation before performance declines affect food preparation.


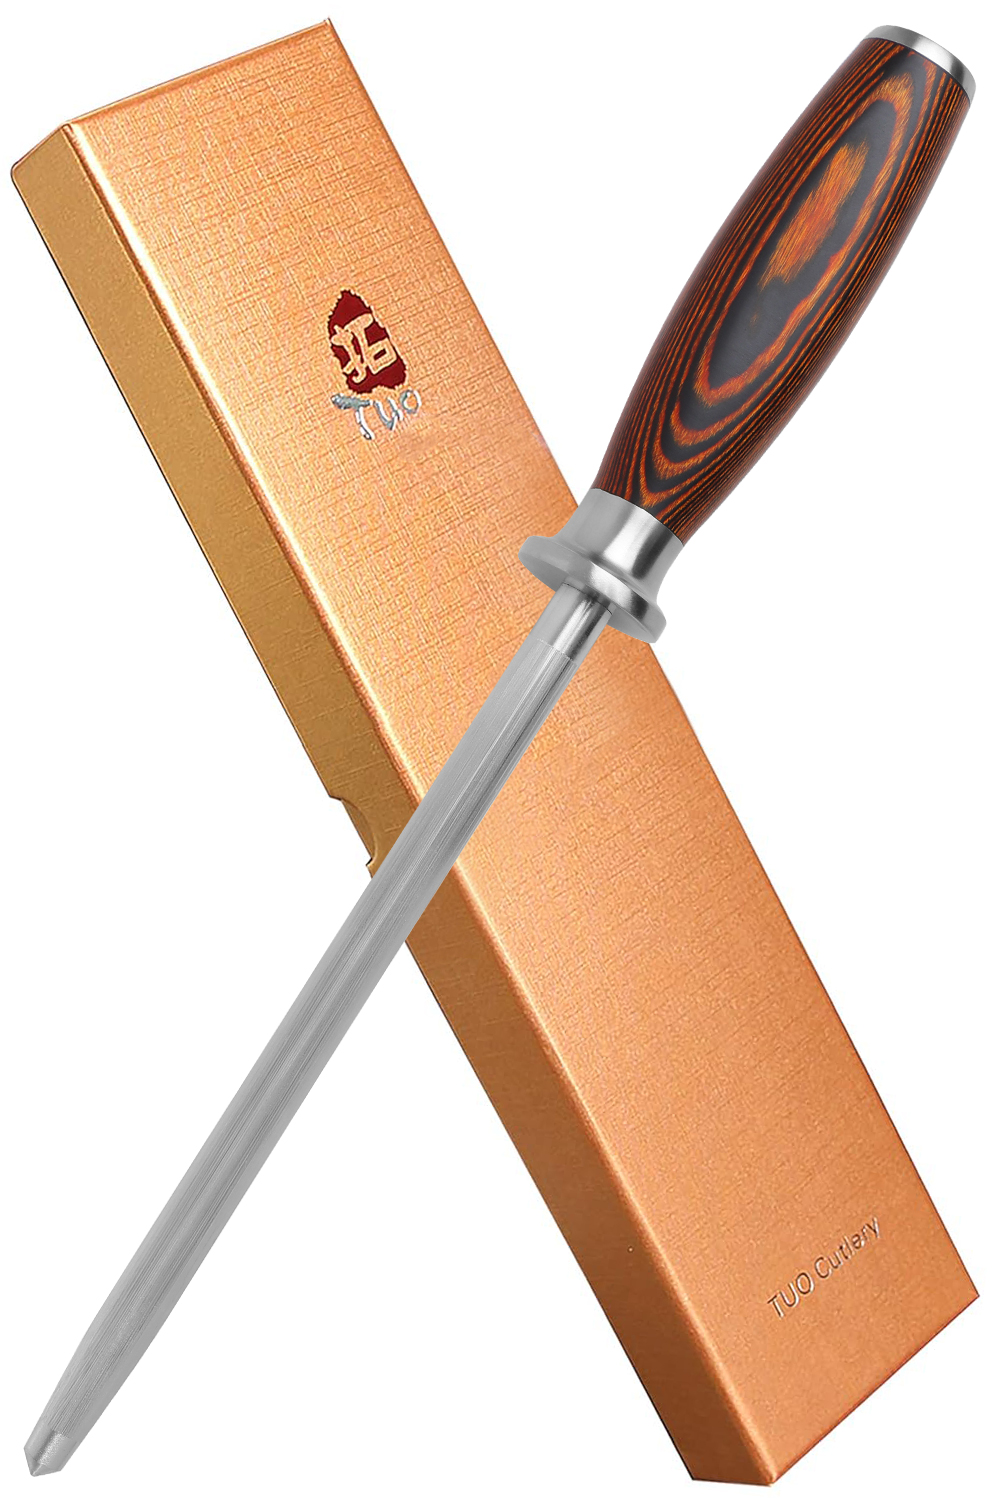
You need a sharpening rod
How to Sharpen a Serrated Knife
1. Identify the Beveled Edge:
- Examine your knife closely. One side of the serrated edge will have a distinct slanted angle – this is the beveled side.
- The opposite side will appear uniformly flat along the edge.
- Tip: Rotate the knife under a light source. The beveled edge will reflect light more noticeably.
- Exception: Some serrated knives feature double bevels (sharpened on both sides). If yours has two bevels, follow step 2 for both sides and skip step 3.
2. Hone the Beveled Side with a Rod:
- Using a tapered sharpening rod or ceramic rod, focus on the beveled side only.
- Carefully insert the rod tip into each scallop (the curved notch between teeth).
- Gently draw the rod along the curve of the scallop, matching its contour. Apply light pressure.
- Perform 4-5 strokes per scallop.
- Key: Maintain the rod parallel to the existing bevel angle. This sharpens each scallop individually without widening the gullets (spaces between teeth). While precise, this method ensures even sharpening.
3. Deburr the Flat Side on a Stone:
- Honing the bevel may create a fine burr (raised metal edge) on the flat side.
- Lay the flat, non-beveled side of the blade flat against a fine-grit whetstone.
- Make several light, smooth passes across the stone, as if sharpening a straight-edged knife. This removes the burr and smooths the edge.
- For Dull Knives: Start with a medium-grit stone before finishing on the fine-grit stone for better results.
4. Clean the Blade Thoroughly:
- The sharpening process leaves microscopic metal particles on the blade, often visible as a grey film.
- Wash the knife meticulously with warm, soapy water.
- Dry it completely immediately after washing to prevent rust or water spots. Your knife is now sharp and ready for use.